How to Export High Quality Views from Revit for Reports
Wanting to save a view as an image for reports?
While I typically use a premium screen capture and image annotation tool on a daily basis. I’ll suggest anyone to try this tip to take higher quality image shots within Revit as a Render image. It will store the image in the Revit Project Browser, after which the image view in Revit is exported to a standalone file for creating reports.
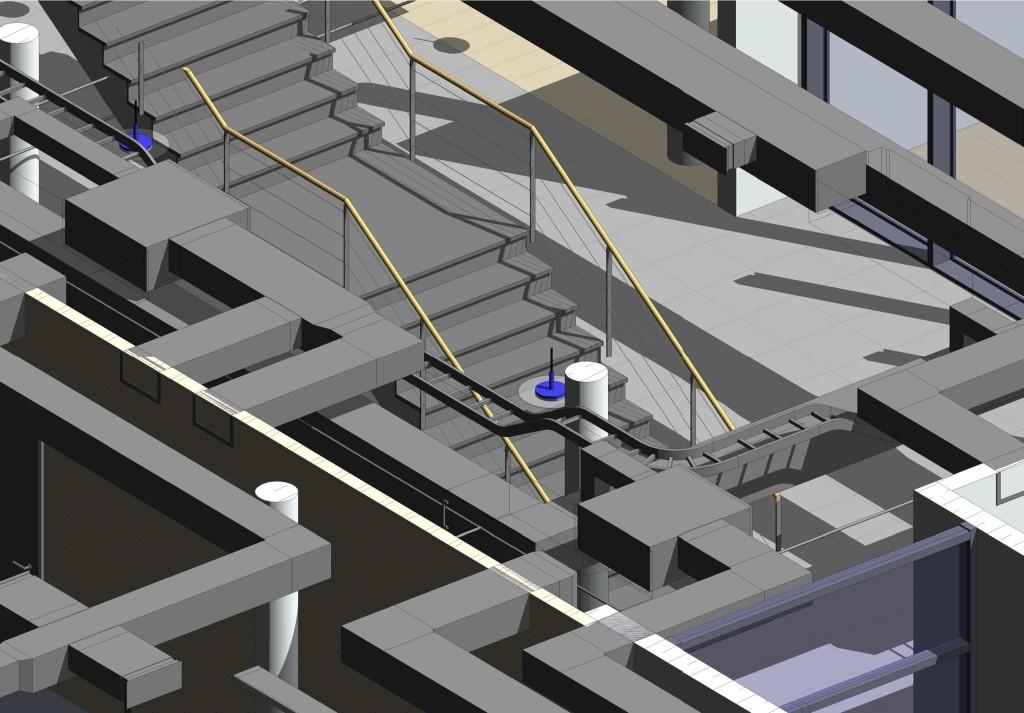
First select a view; be it plan, section, 3D or whichever you need. Set the view as needed to optimize how it is to be presented in the report. Shading and Sun settings can be set for best presentation. In my case, using a 3D view with a section box, I want to zoom to a portion of the model to illustrate a point in my report to the project’s stakeholders. From the image below, after I have spun the oriented the view as needed, I am ready to save the view as an Image.

Do a right-click on the view name in the project browser and right-click on the name to open the context based tools. Select the Save to Project as Image.

This will then bring up a setting dialog box.

Just follow the setup as per the image above, giving consideration on how the SAVE Image to Project would need to be optimized for your report.
After the image is saved, look in the Project Browser for the saved image under the Rendering Category, be mindful custom browser organization might not display the Renders category.

Before beginning to export the freshly created view(s), save the project in order that the saved view be visible in the list of views to export. Go to the Revit Start Icon at upper left corner of the Revit session. Just be aware that there are many export options and it’s necessary to scroll down to near the bottom to find the Export as Image option.

Just note though that the Export Image dialog box does offer a way to directly export the current view as opposed to the steps we went through to create the Render views beforehand. The process I showed lets us set up several views to save to the Renders category and be exported in one step.

After exporting browse to the folder the Project is in and find the files that were created in the Export procedure.


The quality might be a little better than that of a screen grab. Try and share with your colleagues on the project teams.
BONUS ROUND
I have to share this little gem.
We all know when placing a family component to the model that the spacebar option rotates the family along a 90 degree segments? Right?
Well try this option: When the non-hosted family must be rotated in respect to a previously placed line or reference plane of some unknown angle in the model. What most will do is place the family and then rotate it. A few more steps than this option presented.
Begin to place the component family and then hover the family over the angled reference (or arc), highlighting the reference (line, wall, etc). c. Click on the spacebar—the preview placements will flip between perpendicular or parallel to the reference object.
By David Metcalf, CADSoft Consulting
This article was originally posted on the CADSoft Consulting Revit blog and is reprinted here with kind permission.
Related Blog Posts